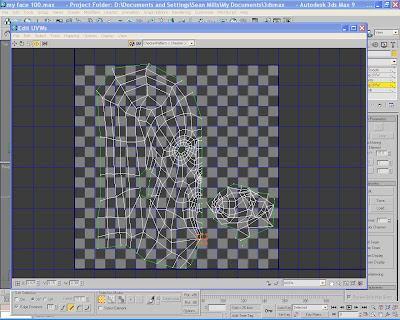
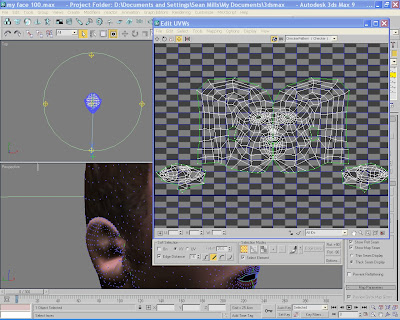
* Firstly I added a UVW Unwrap modifier to one side of my head, using the relax tool to simplify it, this enable the material assigned to it to run smoother and more constant over the head.


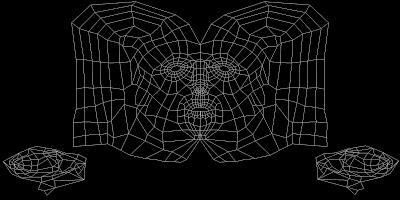
* Once the unwrap modifier for the whole head was complete I saved it so I was able to take it into Photoshop to be used as a guide

* From here I was able to take section of my face from my original photos, copy and past them on top of my grid/guide layer for the map and slowly build it up. I then blending each section into one another, trying to ensure their was no contrast between them.
* Several hours later I was done and ready to stick the map on my head!! Once the map was applied the head really come to life and did actually look a little like me!!!!

* After looking over the head in Max I went back and edited the map several times untill I got the result i wanted.

Creating my bump map
 Summary
* I was pleased with the result I achieved here, but there were certain areas which were not up to scratch, when I welded the two unwraps together , a slight over lapping occurred on some of the vertices on my forehead. This resulted in what looks like a seam on my head, if your look closely. Also where i played around with the map to much i lost a lot of quality form my original images, if this was avoided the final map would have been of a higher quality and therefor looked more realistic. However for my first time round I was happy with how it finished up!!!


No comments:
Post a Comment